Synology Restoration
Restoration can be done simply by accessing the daily backup share from the backed up server, and copying the last snapshots from there.
Alternatively, restoration can be done from hidden/secured archived data, using the following tools.
I. Filezilla Client
-
Download and install Filezilla Client from https://filezilla-project.org/ .
-
Open Filezilla Client, and do a quickconnect as shown, or click on Site Manager icon (highlighted within green square):-

-
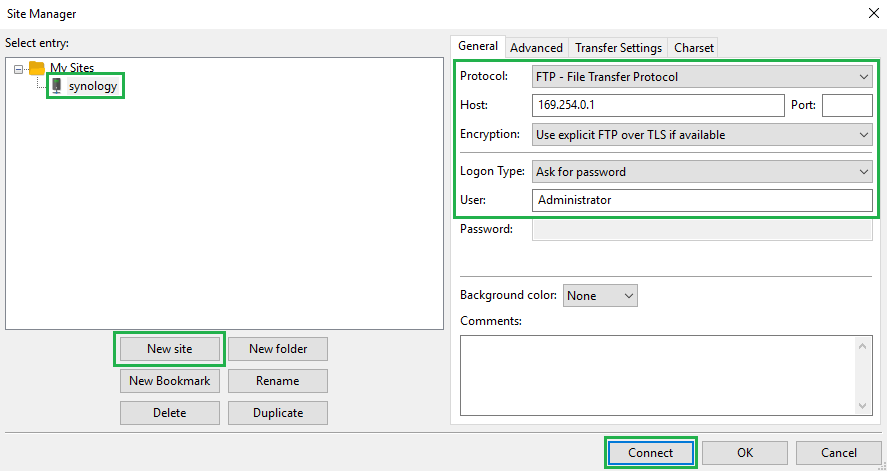
In Site Manager, click New Site and enter any name (e.g. synology), and enter the Synology connection details as follows:-
-
Protocol: FTP - File Transfer Protocol
-
Host: <Synology IP> (e.g. 169.254.0.1).
-
Encryption: Use explicit FTP over TLS if available
-
Logon Type: Ask for password
-
User: <adminuser> (e.g. Administrator)
-
-
Click Connect.
-
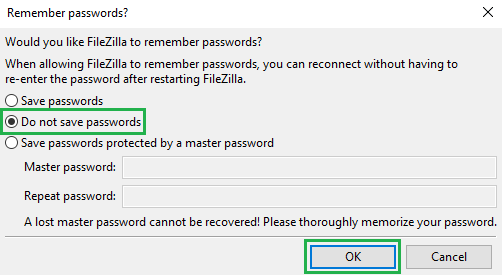
When prompted to remember password, choose Do not save passwords, and click OK.
-
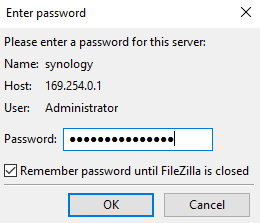
Enter the <adminuser>'s password, and click OK:
-
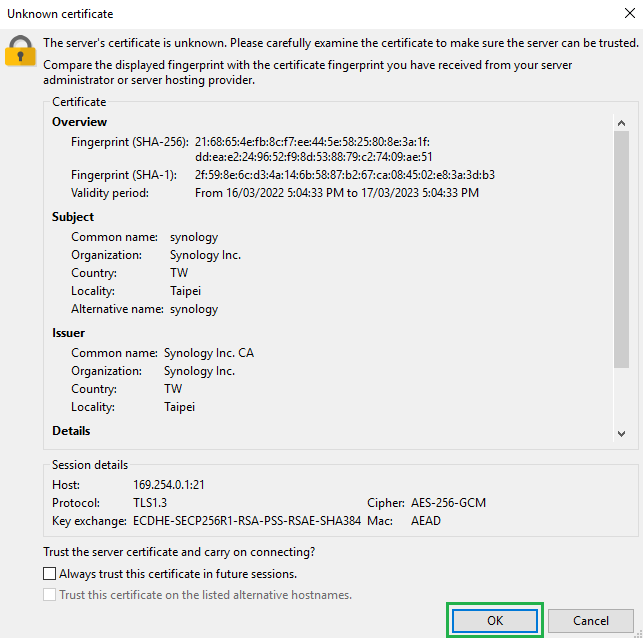
When prompted with SSL/TLS certificate, click OK:
-
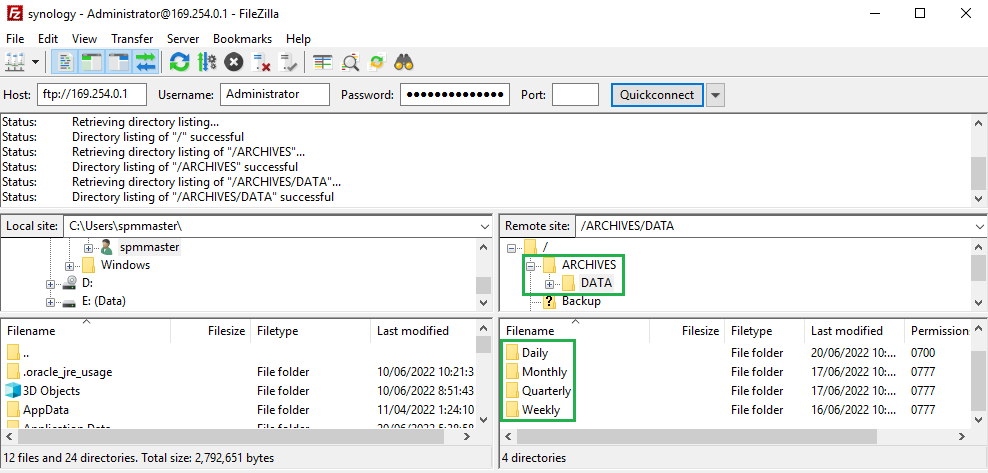
Upon successful connection, you should be able to see the Synology shares in the right hand side. Expand the ARCHIVES folder and click DATA or similar folder.
-
Explore the Daily, Weekly, Monthly, Quarterly folders and download as required to the local location on the left hand side.

